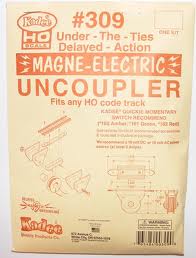
Now that the modules were ready and the cork in place , i thought it best to install the Kadee 309 electromagnets first up, since at this stage there are no tracks to interfere in the process which i intended to use…..
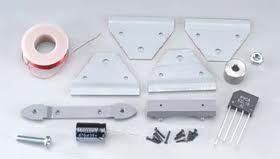
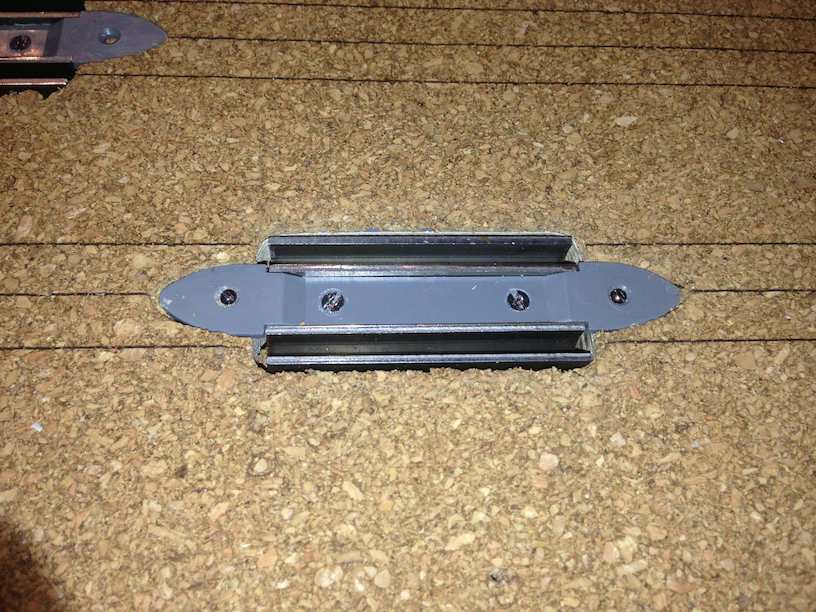
The Kadee 309 has been updated from it’s old avatar , the 307 . It can now can be easily mounted under the tracks without losing its magnetic field. The new version – the 309 has four plates as opposed to two plates in the older 307 version . This results in a larger electromagnetic field and thus the uncouplers can be placed underneath the track ……
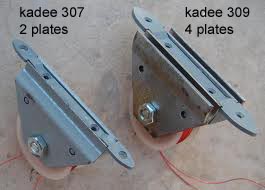
Kadee 307s were mounted above the ties resulting in an unpleasant and un-prototypical look……..
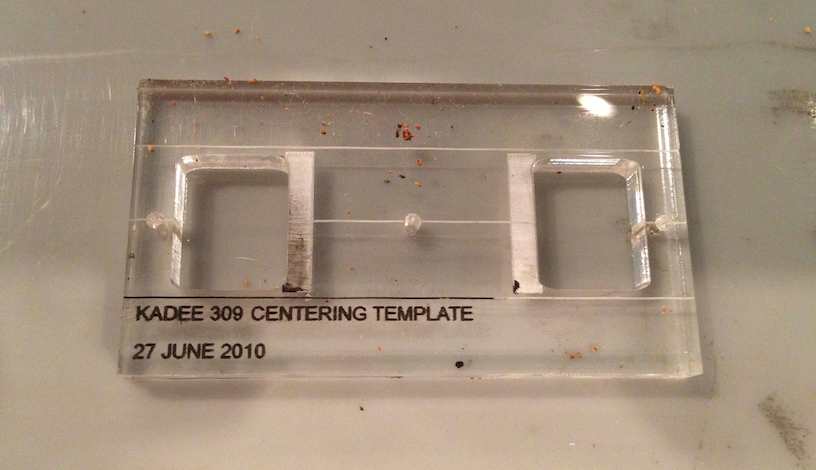
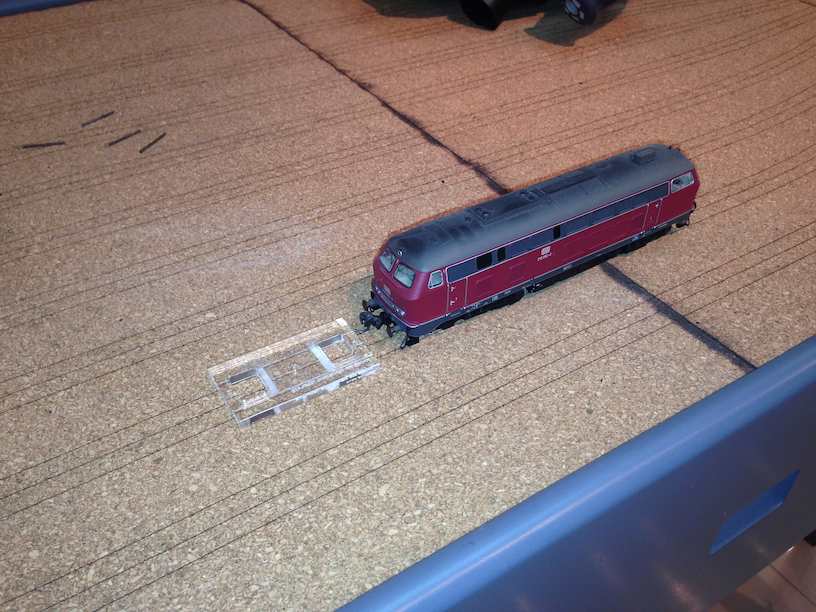
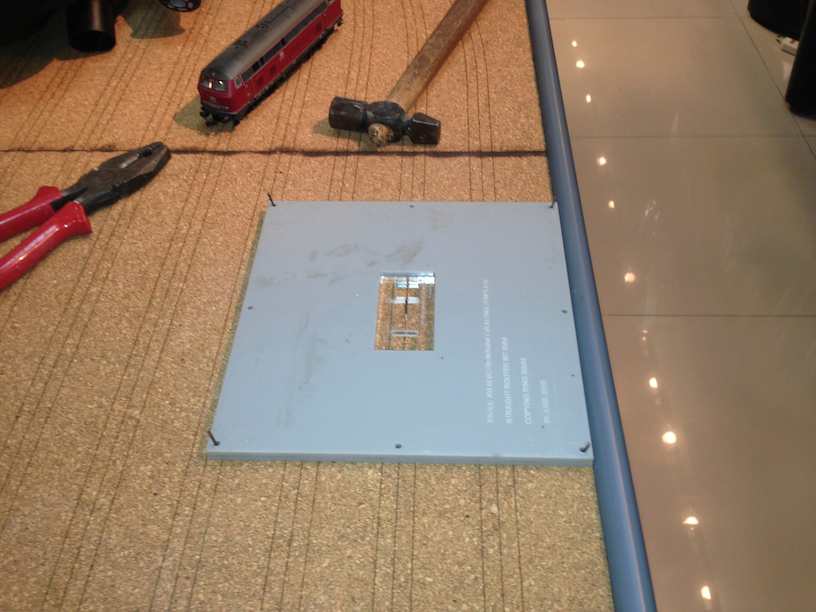
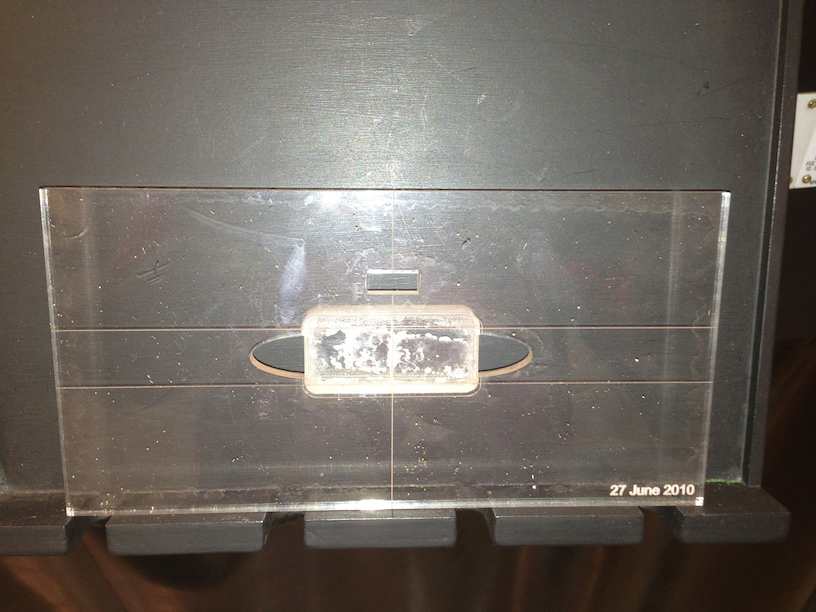
To kick things off , a loco is placed on the cork roughly where it would be expected to come to a stop on the relevant track. A jig which would center the electromagnet on where it needed to be is placed behind the loco coupler. The jig has the same engravings as the cork has , ie a centerline and two rail lines 8.675mm from the centerline …making it very easy to align correctly. Pins are inserted to keep it from moving around……
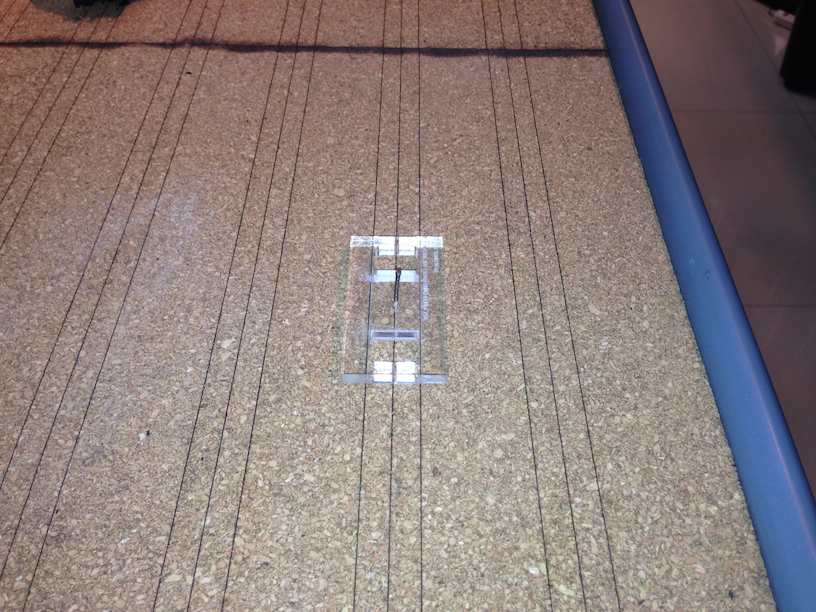
I then made another jig whose dimensions were setup to match the hole for the electromagnet. This was then snugged onto the centering jig …….
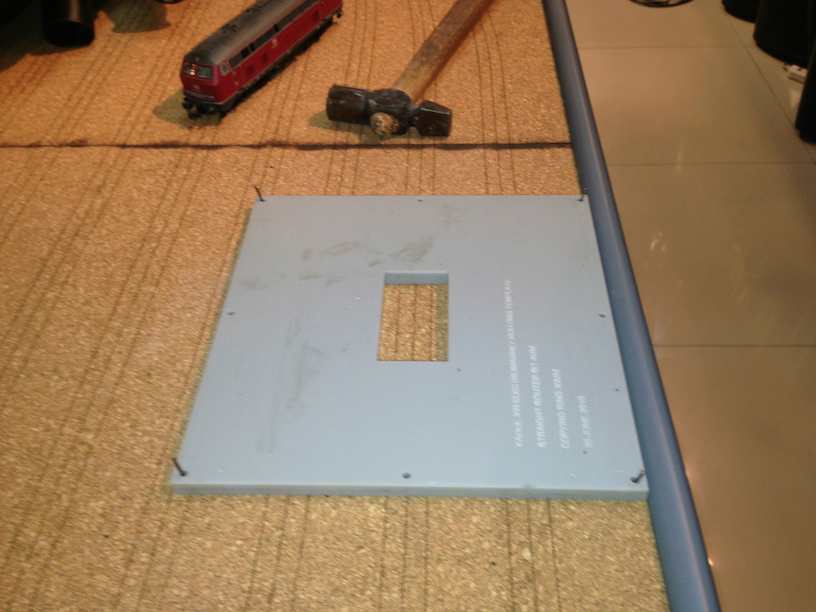
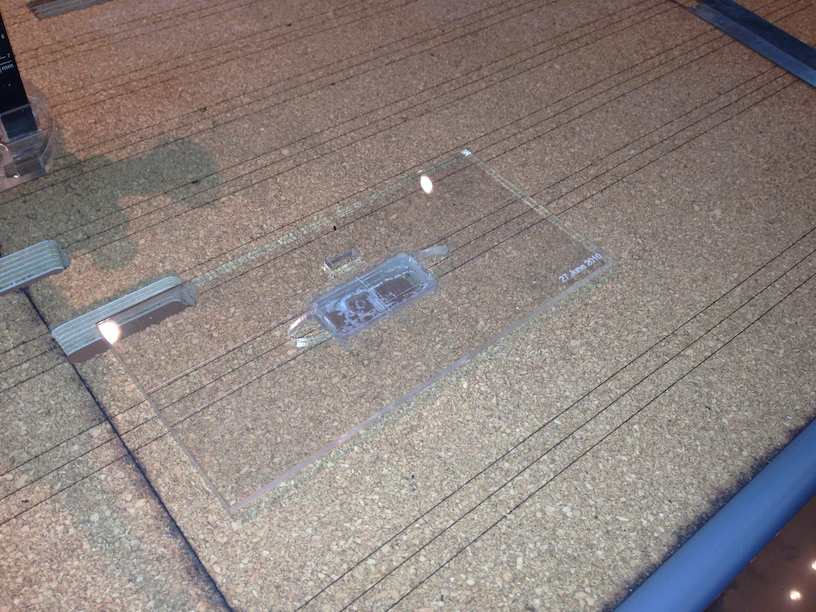
and now i could remove the centering jig ……
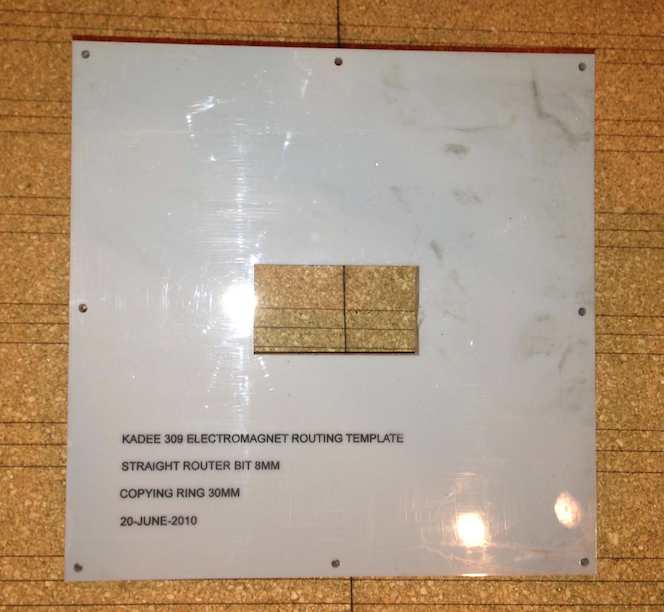
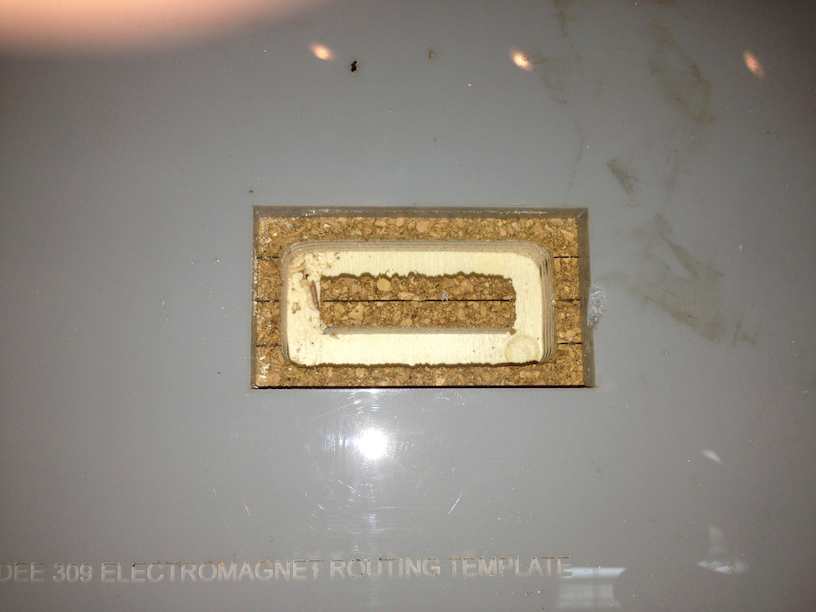
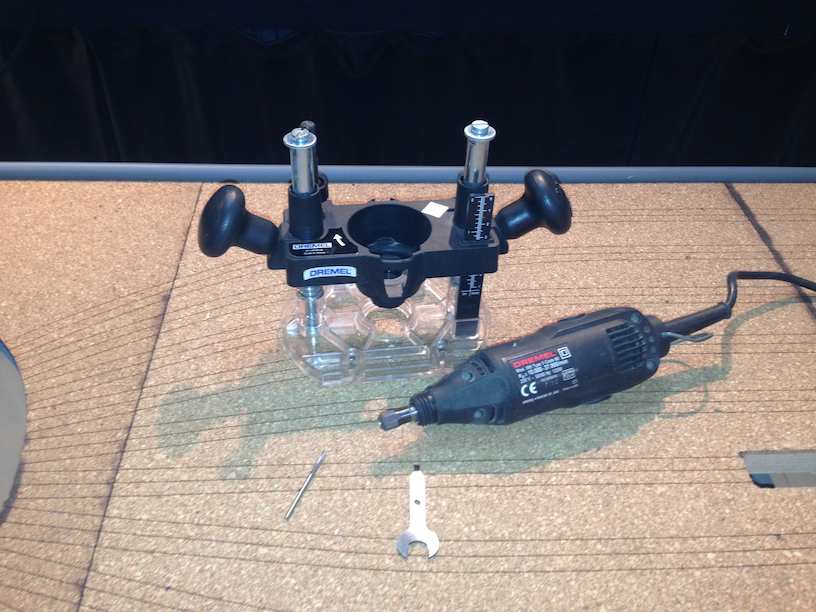
This paves the way for the Festool OF2200 router to make its entry seen here placed on the routing jig………
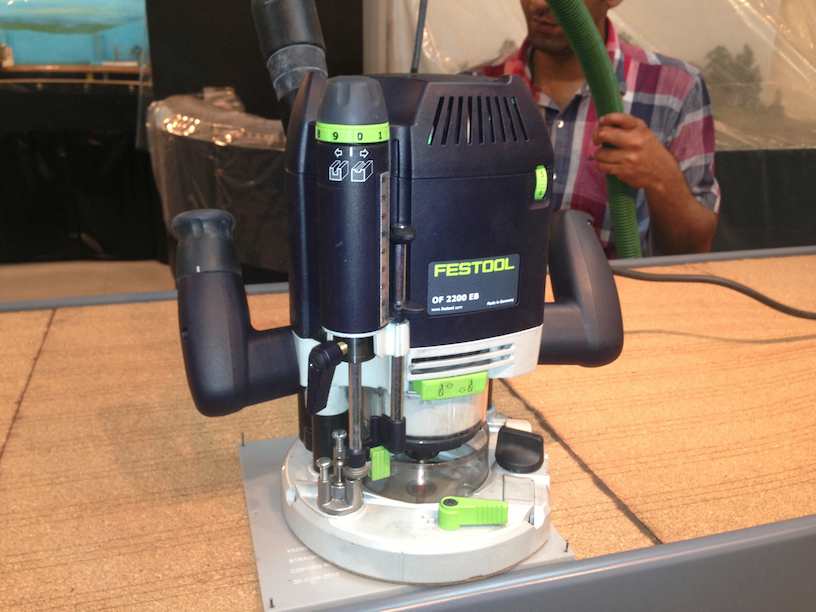
by adjusting the router cutting height …………….

…..i was able to route the hole in about 4 passes ……
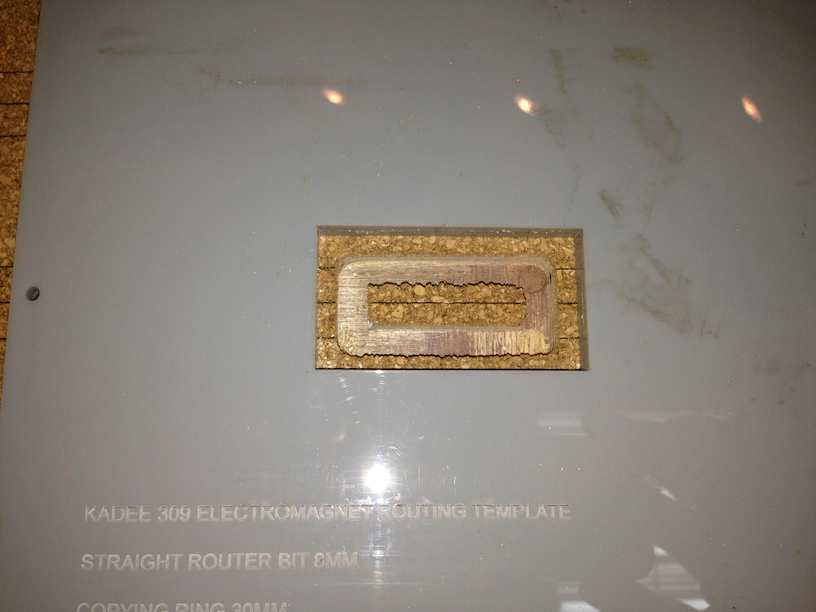
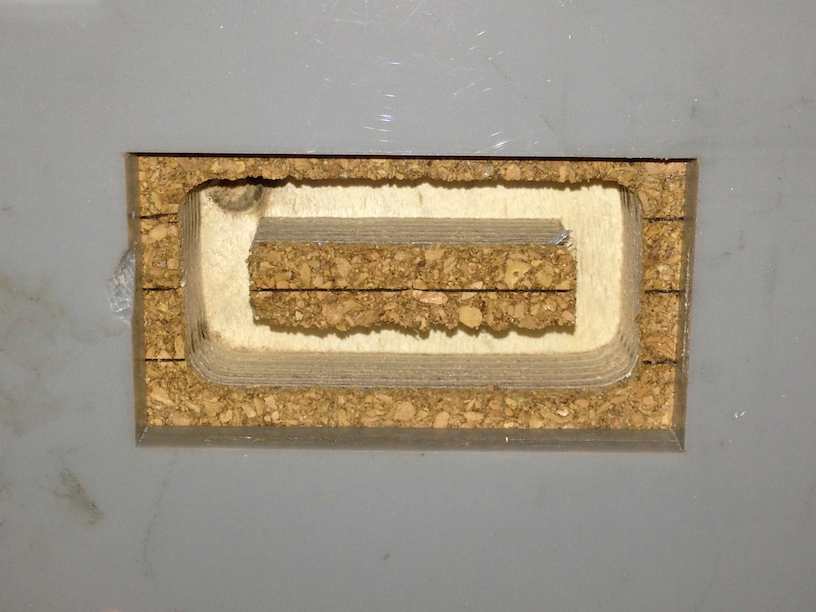
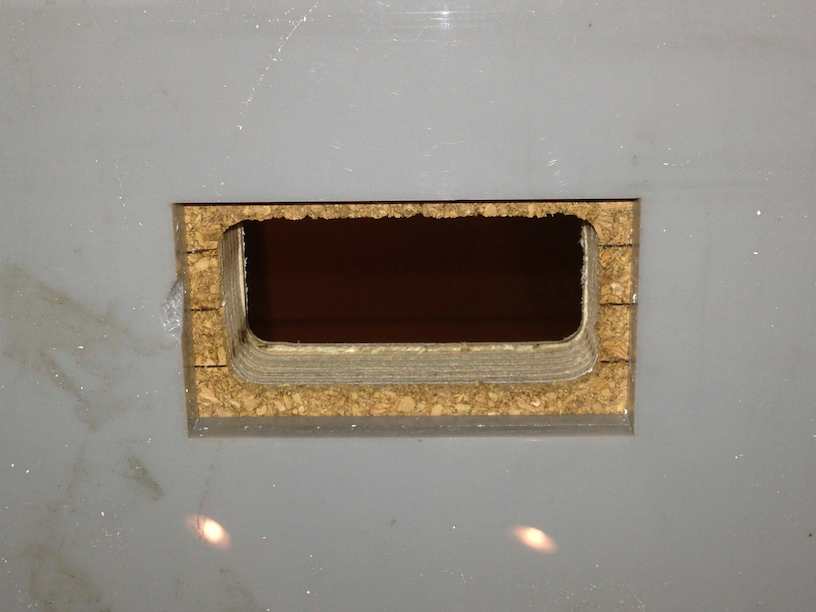
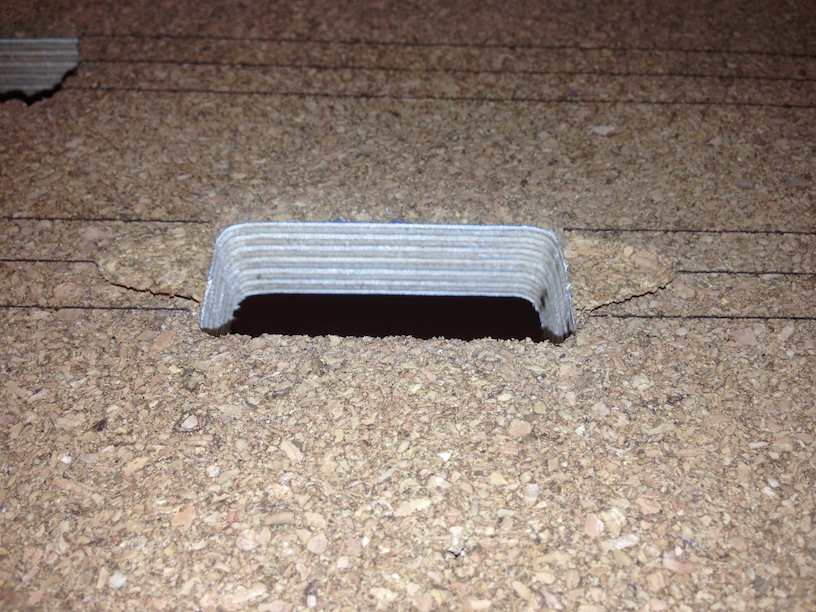
I removed the routing template next to reveal the hole in all its glory !!
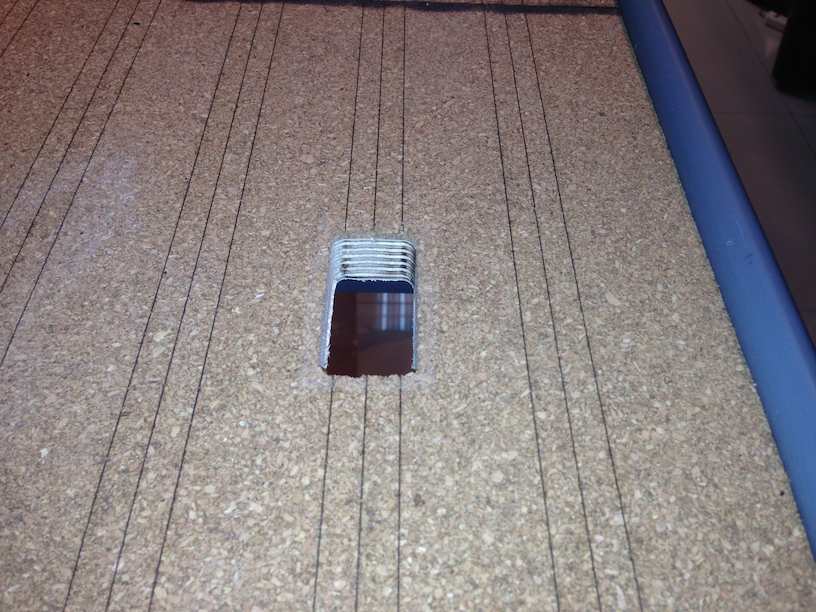
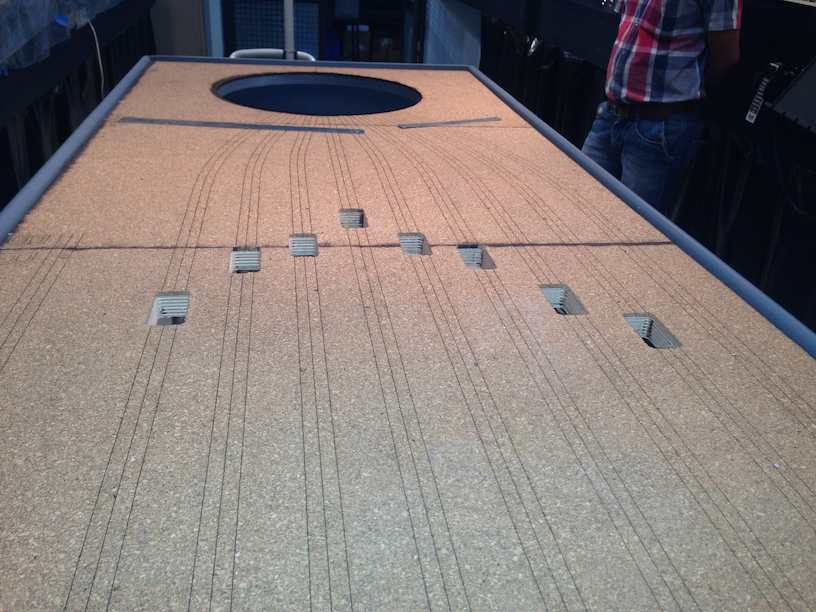
and now all the holes routed away …….
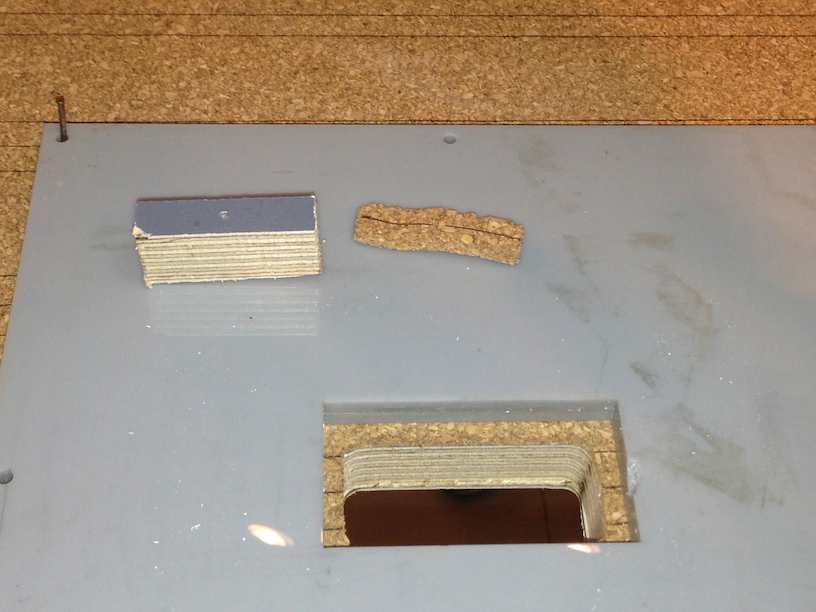
next tool to be used was the dremel drill machine alongwith a router base and bit ……
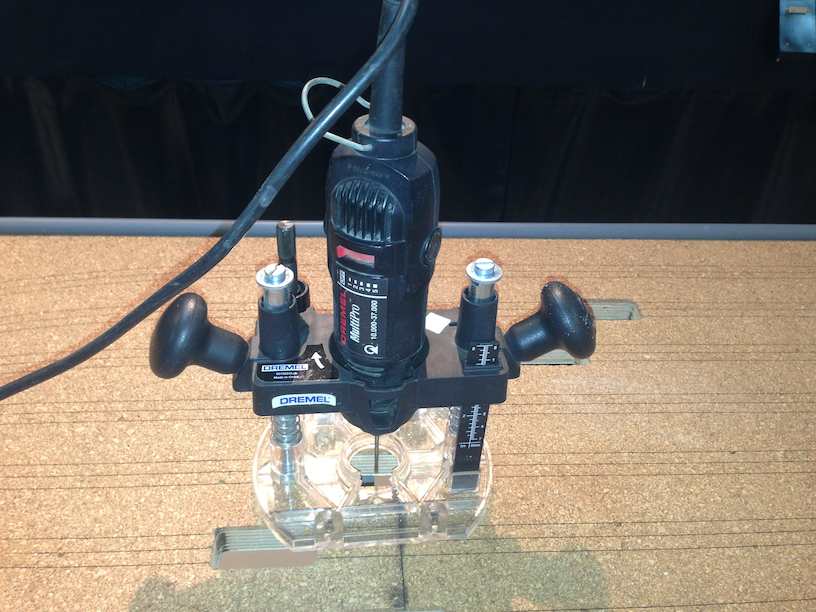
i needed this to route the egg shaped / dome like ends of the Kadee 309 electromagnet so it could fit flush with the cork …. and for that i made this jig……..
here we see the dremel router on the egg shaped router jig……..

and here we see the egg shapes routed away ….
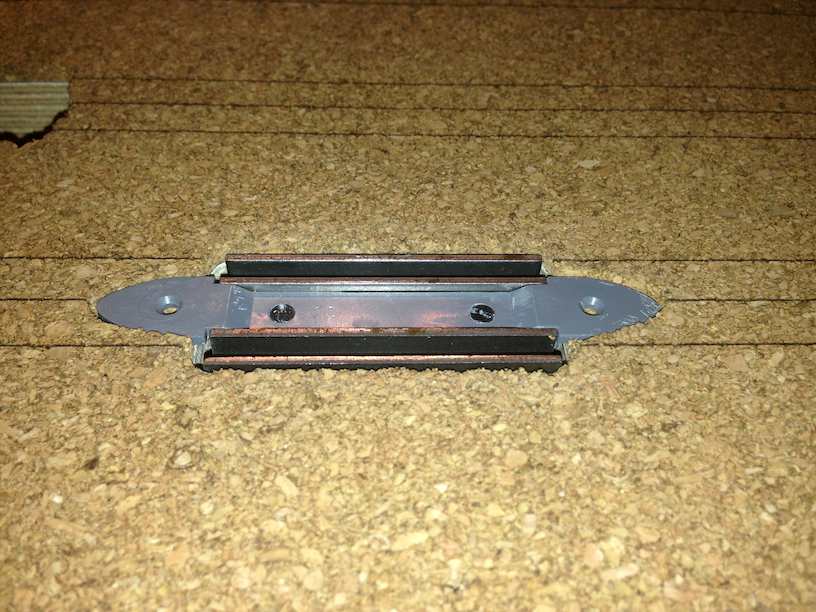
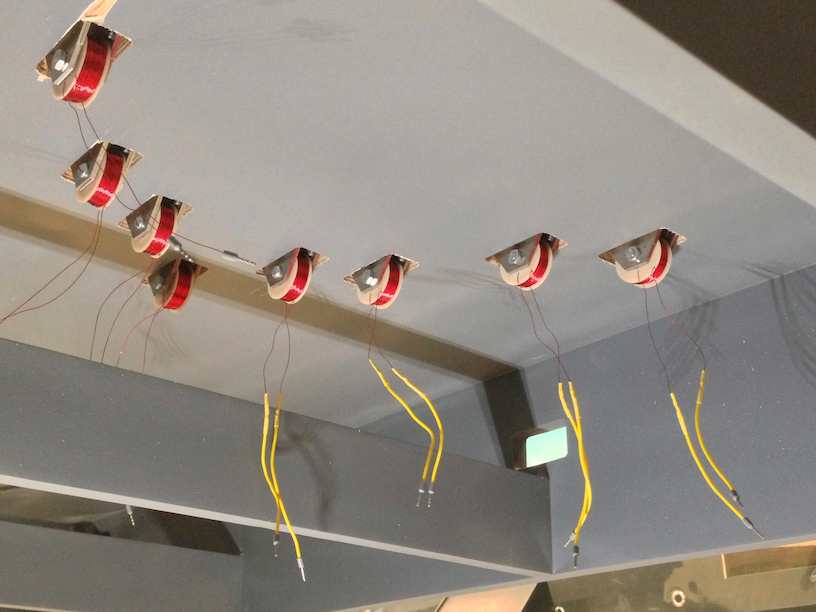
and the electromagnet put into place……
and all Ems placed…….
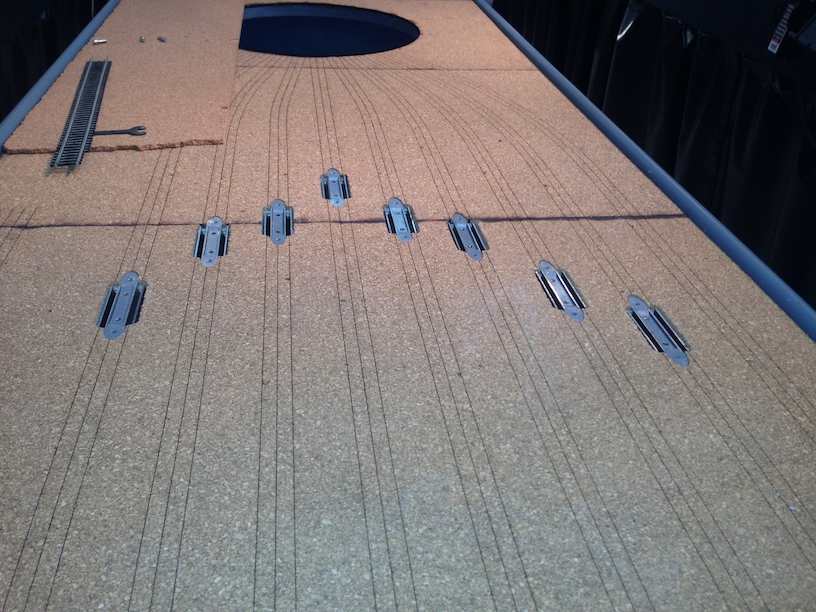
and from below …..
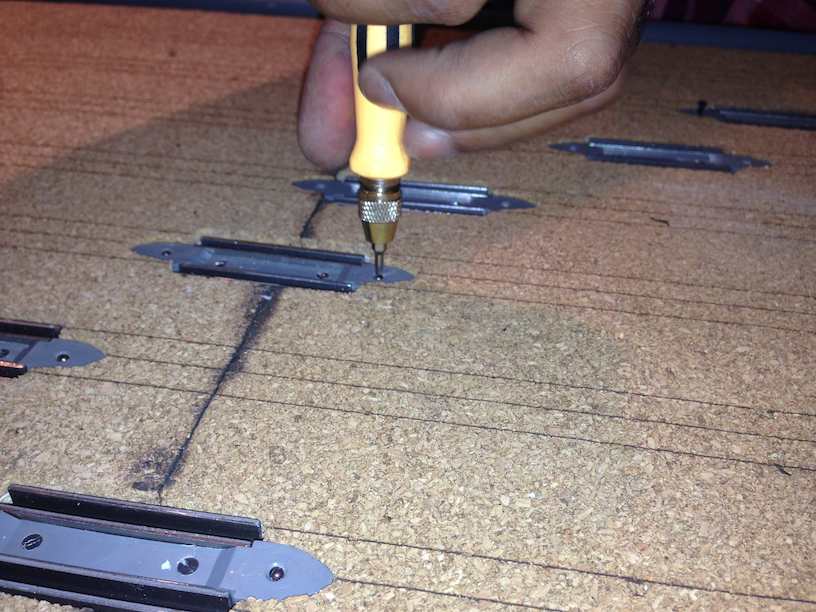
secured in place with small screws which was quite fiddly to do ……
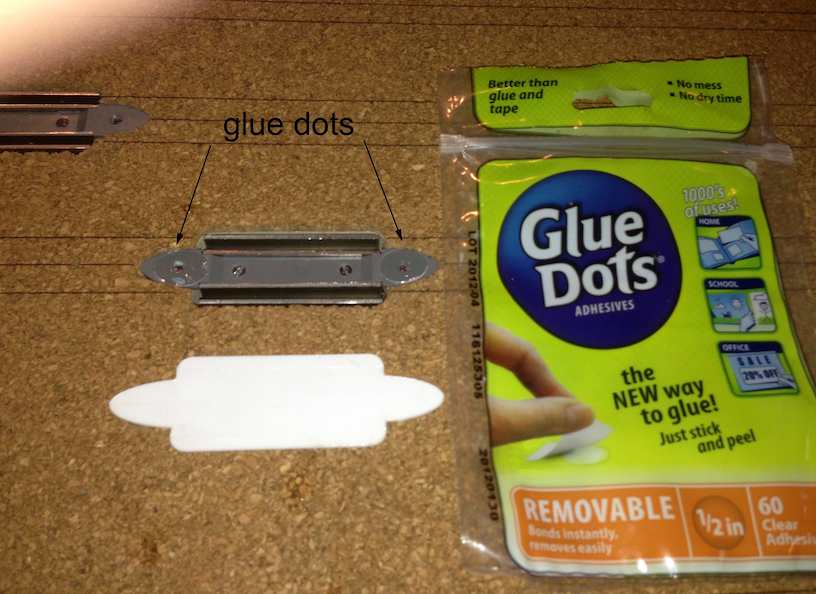
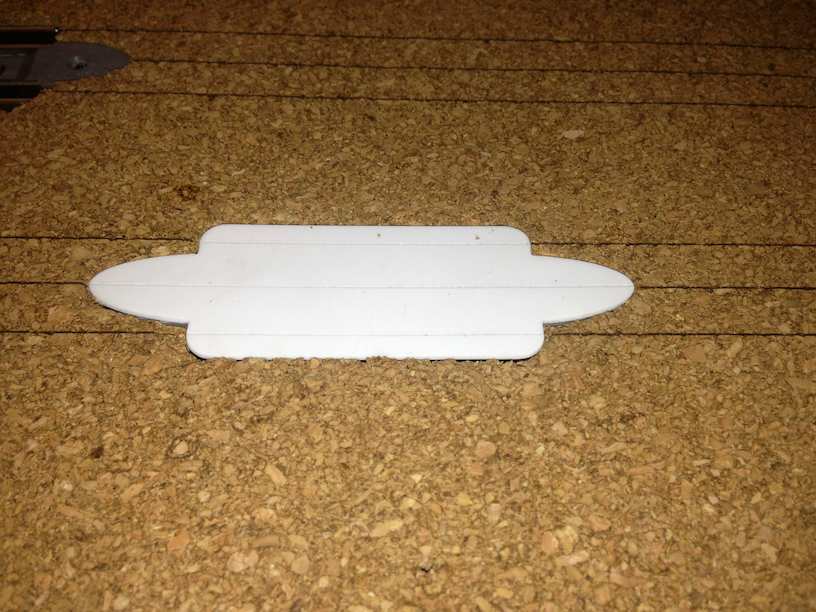
next was to put a cover onto the ems so that when ballasting the track the ballast would not fall thru … i used glue dots to use as a means to hold the covers so that they could be removed when needed….
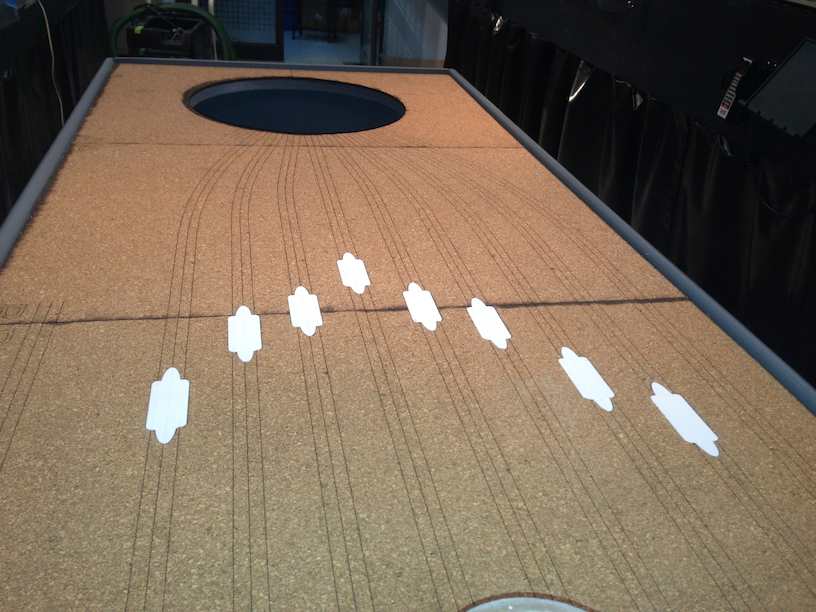
the cover in place …….
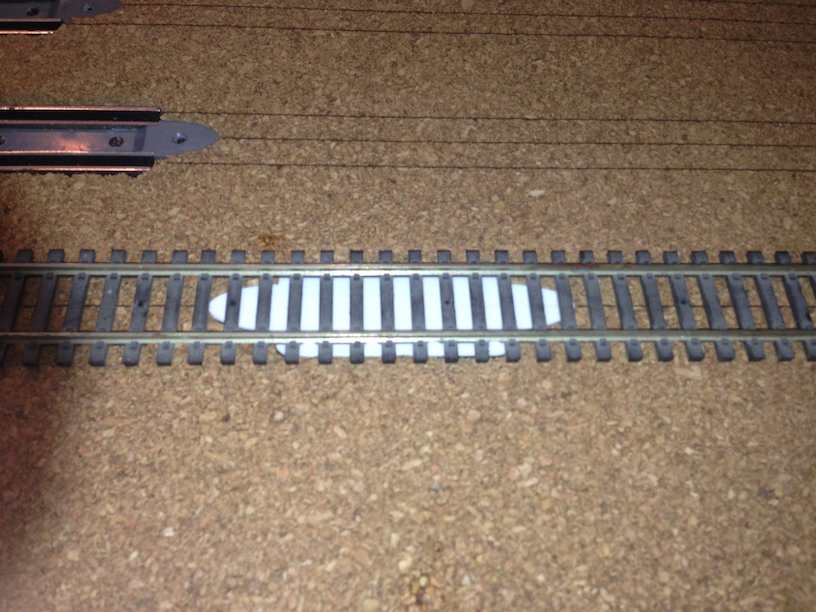
and for all the tracks……..
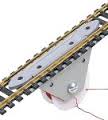
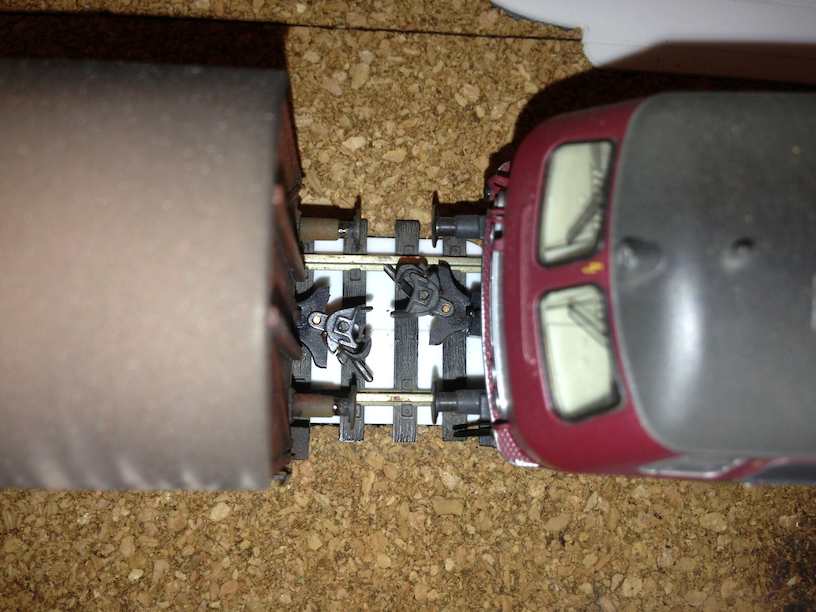
the test track was placed on them and it was all flush ….
finally the EMS were applied with test power ….
no power …..
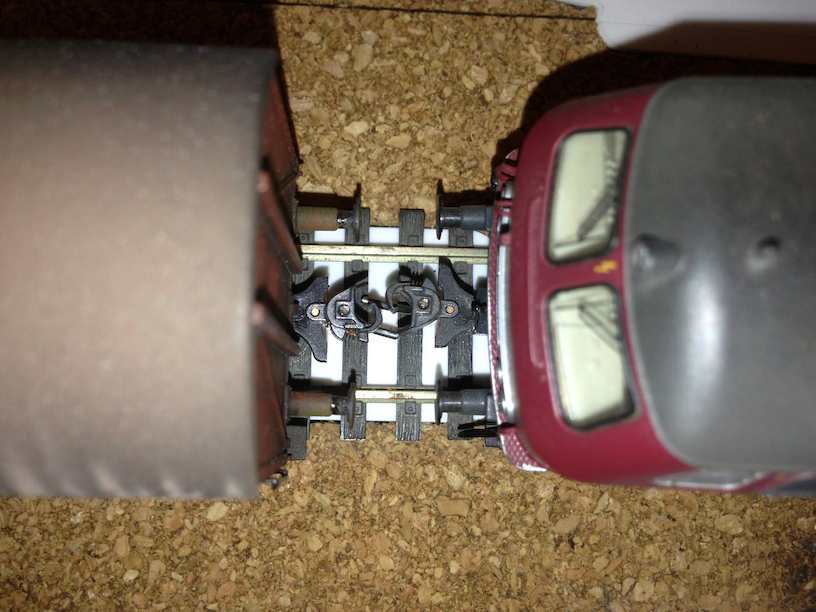
Eureka !!! …… with power ……. all is well !!! …….Alles Klar !!!
next in the series –installing tortoises
previous in the series….cork underlay